Next Passion
Info on building of the next Passion
Normal transmission will resume now that we have returned from a three week break in France including sailing in the Laser Masters World Championships. The venue at Hyeres on the Mediterranean was a delightful place to sail and also observe the end of seasons antics at the local marina. An aggressive looking Black Pepper Code 1 was lifted up for the winter break. She had a nice carbon bow prodder that could be rotated up when required and that is food for thought. The other activity was the repairs to a J 109 which had run aground and damaged the glass at the front and rear of the keel.
Back home while recovering from jet lag I have glued up the first of the floor frames that will support the keel. The frames have been increased 10 mm to 80 mm width for extra factors of safety and to allow for larger keel bolts for the 200 mm deeper keel we will fit. Because there is a large span between frames D and F where the 44mm stringers are unsupported I have lofted up the frame profile on the floor and glued up the the frame in a jig rather than in situ. It is more pleasant working on the floor and gluing down hand and the accurately constructed frame will secure the stringers in the designed location.
By the time you deduct the depth of plywood plus 44 mm stringers plus the depth of the frame the inside radius of the frame at the ends is around 710 mm depending on the amount of taper in the floor. This is a very tight bend for eight layers of meranti that is tapered from 3mm at the tip to 6 mm at the centre. It is right on the limit of fracture of the meranti so all saw marks and any stress concentration points have to be planed smooth to avoid the timber cracking.
I am in two minds about the rest of the floors. Once the floor at frame E is secured in place I will see what stringer deflection I get using the build in situ method but I am quite content to loft up the balance of the frames since the floor rise and radius are constant and the only variable is the distance to the tangent stringer which can be measured off the hull. It really is that simple.

Didi 40Cr keel floor being clamped up in a floor jig
I would give myself no more than nine out of ten because I found one frame had moved during the keel and stringer fitting despite my braces and regular checks. The errant frame is frame ‘M’ a light 9mm frame with a substantial cut out. It was braced with two 90 by 30 mm strong backs but above the top strong back it still managed to move enough to be corrected. This frame is at the back of the rear bunk which has loose 6mm ply covers and if not square the bunk tops would not clear the frame when lifted. Fixing the error required unmaking the keel join, four stringer to frame joins and the three bunk bearer joins. A multipurpose tool which has an oscillating head and an offset saw end was ideal for cutting out the glue join and the joins were all unmade in three hours. A third brace was then introduced and all the joins remade.
A third brace was needed near the keel of frame M to hold the frame for the reconnection to the keel and stringers
This was three hours well invested since the out of square frame would have annoyed me for years to come and three hours to fix it was a small price. Next to peel ply the multipurpose tool gets my vote for boat building aid of the decade. To be fair they have both been around for more than a decade but the price of the multipurpose tools out of China is now very affordable. I purchased mine when I was removing keel bolt backing plates from my Jeanneau and the oscillating head made short work of cutting out the sealant. Also the sanding heads get into all the most difficult places so it was very useful for grinding off flow coat before laminating up extra layers of glass on the keel frames. After fixing the offending frame I fitted a 12mm ply piece for the base of the anchor well, planed the sides flush ready for the skins and glued it into place.

Anchor well base glued into position
I have squeezed a little more room into the anchor locker by lowering the floor 50 mm and notching the front 12 mm where it sits on the stringers. While it is a small increase in depth it is over quite a large area and will accommodate quite a bit more anchor rode. The loss of headroom in the small compartment under the anchor well will be of no consequence. I have not worked out what to do with this space yet but having access to the stem for fitting bob stays is a nice feature. While we are talking about the stem I could not get 100 by 100 lumber so joined a 90 by 70 piece with a 30 by 125 piece to form a T section. After rough sawing the block to the angle of the stem I took the tapered wedges of timber and glued them into the corners of the T to make a solid block 100 mm deep finishing 125 wide at the back. The extra weight of the timber is inconsequential and I get a larger gluing area for the ply skin and eliminate the corners in the stem

The back of the stem goes across the full with of the hull for a neat finish.
The rain held off long enough for me to glue all the stringers into place. Just a few spots of rain fell on the hull while I pulled the covers over feeling like a groundsman at the SCG.

It’s a yurt
Yesterday I installed another four braces to keep the frames straight. Even the heaviest 12 mm frames needed at least one 90 x 30 on edge to keep them straight and some of the 9 mm frames ended up with two strongbacks on them. The effort paid off with a good production day today.
To stabilise the frame even more I have started fitting some of the internal structure and have already completed the bunk bearers for the fore and aft cabins. These are a good cross check on the alignment and as a result of the checking I moved one side of one frame up 2mm. I was surprised that the frame move at all given all the stringers, keel and gunwhales are in place but the designer says it can move a bit until you get the plywood on the sides.

Work can continue in the rain
Now that the covers are on there are jobs that can be done in the rain so I guess Sydney’s run of rain is about to end.

All the stringers are notched into the stem or glued to the bow knee of keel

The stringer that meets the keel will have a 12mm thick plywood strip for the join between the flat 12 mm ply panels and the curved two layers of 6mm panels

What it looked like during the trial fit of the stringers two days ago

Fairing the stem to match the line of the stringers
Next Passion has a very pointy bow but the fairing to match the line of stringers is almost complete.
This morning I cut more stringers and if my calculations are right I have cut enough to fill all the slots in the frames.
This afternoon I sailed at Gosford and captured the sunset.

Sunset at Gosford Sailing Club

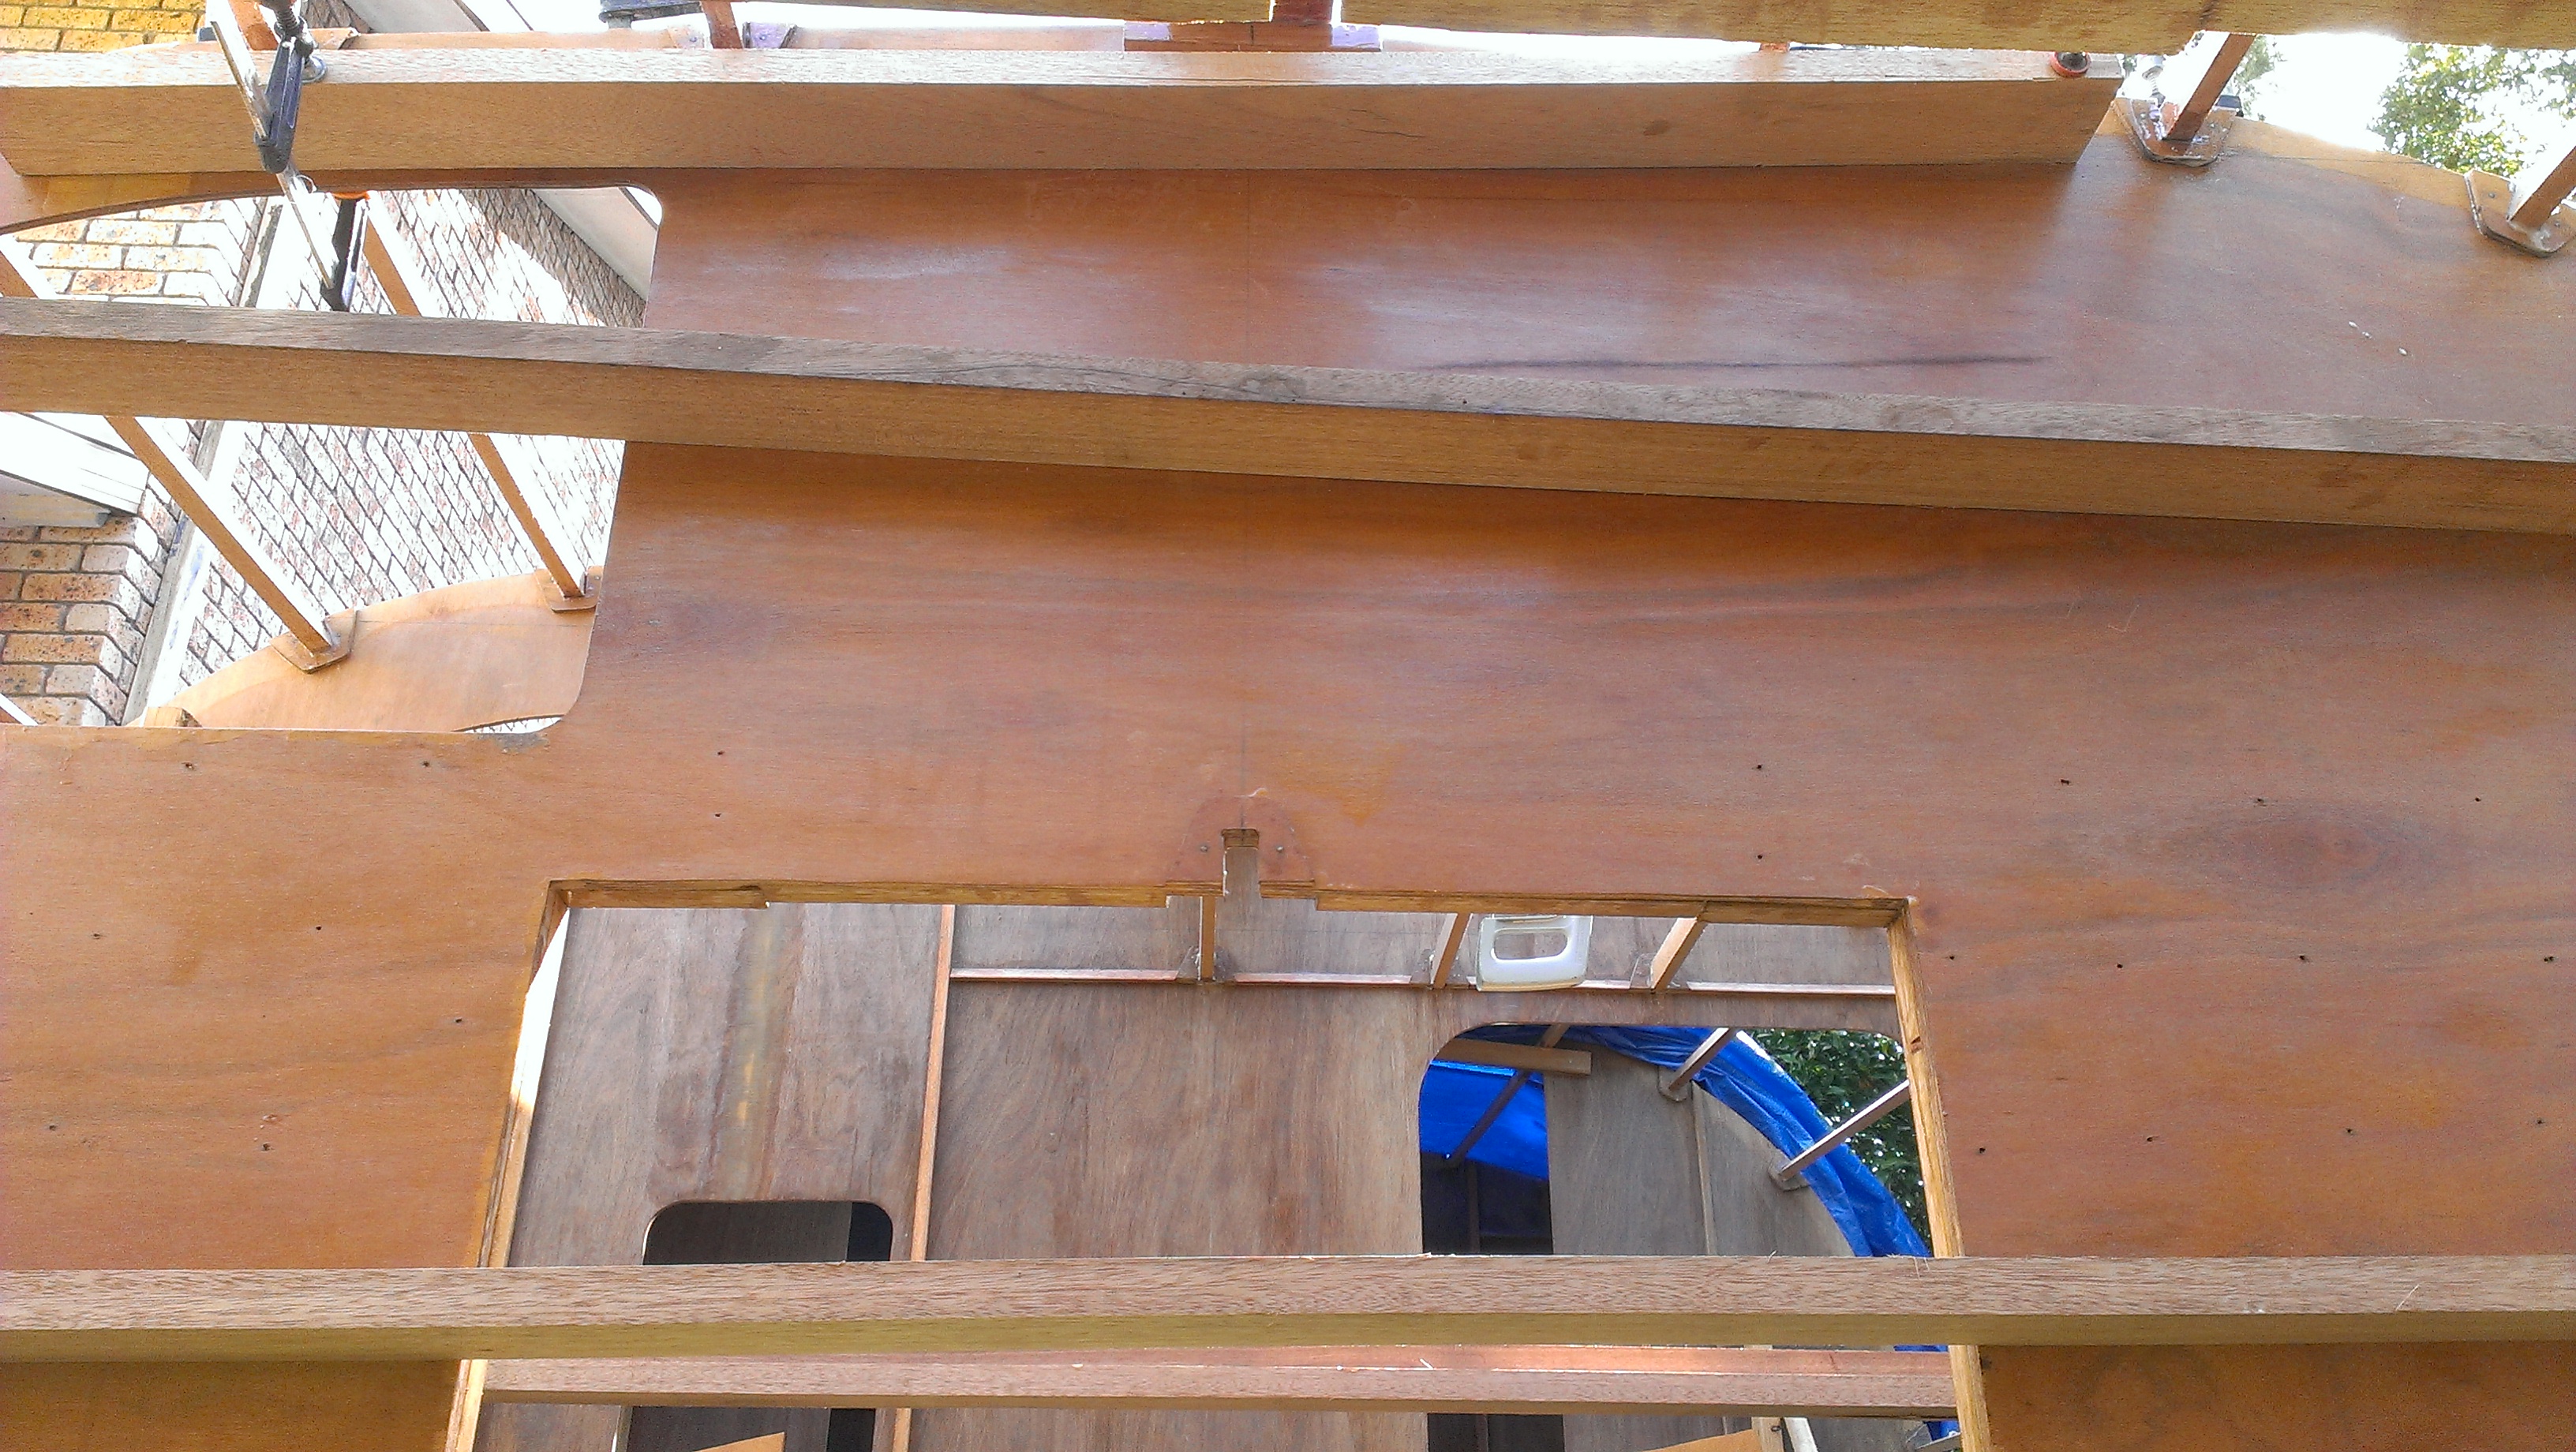
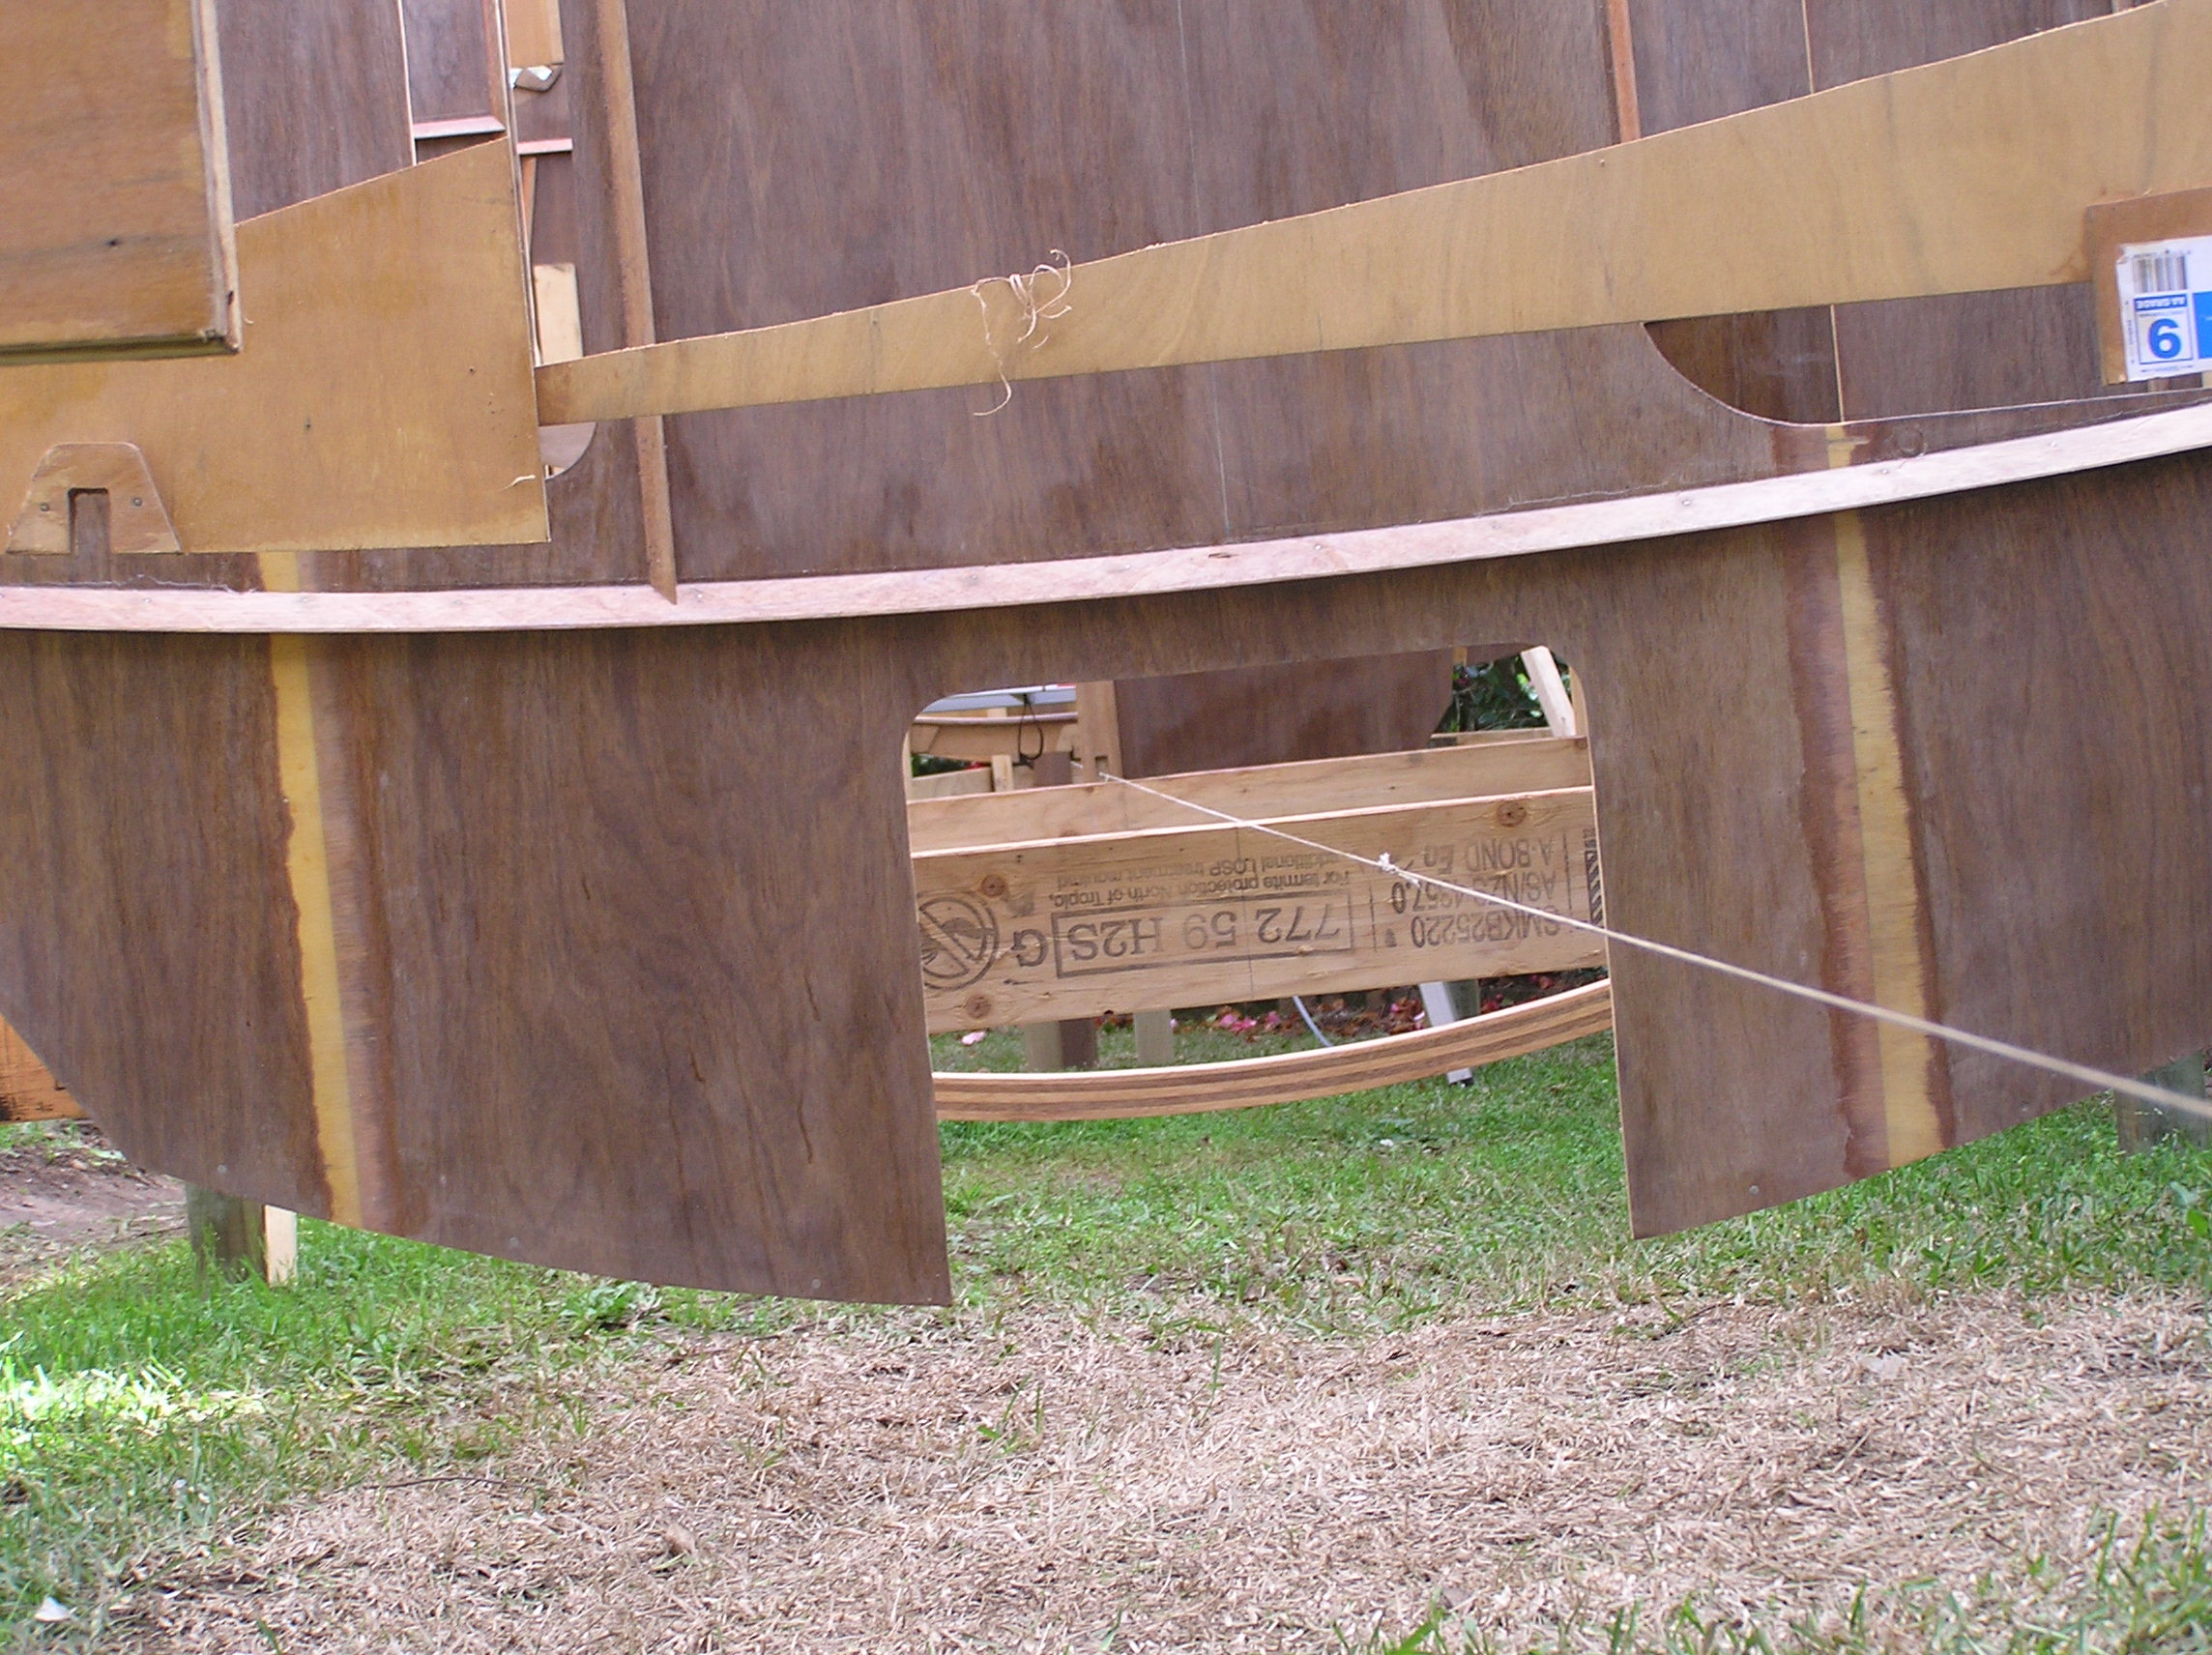
The flared topside of the wide transom becomes clear as the gunwhales and stringers are fitted
Today was another bonus day as the forecast rain held off and I was able to glue the gunwhales and a couple of stringers onto the frames. Now the shape of the boat is starting to emerge.

View of the gunwhales from under the building frame
As predicted the backbone is installed on the frames. The only difficulty was at the bow where the profile is quite curved. Here the 32 mm dense meranti timber was too strong to bend even employing all the methods the designer advises. The solution was one that Kevin and I had discussed and it involved laminating the front section. I was able to cut the front couple of metres of the backbone timber into two, separate one half from the backbone and introduce a scarf join. While the front end was just a half thickness I was able to bend it into position and router the slot for the stem knee join. A neighbour came over at the right time to pass up gear as I glued and clamped the sections together. The glue is well on the way to being set and I have turned my attention to the gunwhales.
Too busy for photos today but I did take some when lining up the frames.
All I needed to get a bottom string line was a 15 mm hold drilled through the mast post and that gave me a top and bottom line.

Top string line for aligning the frames
Bottom string line for aligning the frames

Half the frames mounted on the jig before the rains came
Back home by 3 pm I was able to have a little play with the new build in the back yard. Undaunted by the prospect of rain I have fitted and glued into place half or the backbone.
Now the backbone of 250 mm by 30 mm meranti backbone is locked into the transom with a couple of large stainless steel screws into a solid knee that is routed into both the keel and the transom. The first scarf join is completed in situ as the whole backbone would be too heavy to handle. The preparation included a final fairing of the scarf join surfaces in preparation for the joining with West System epoxy resin.
It all seems too easy after the days of struggling with the frame set up the center line of the backbone is landing perfectly on the center line of the frames. I have covered the backbone with a tarp in case of rain before the glue sets and to ensure the gluing surfaces will be dry tomorrow.
If it is fine I should be able to finish the backbone and stem and start on the gunwhales. As far as progress on the new build goes I feel like I have won back a whole day and with a couple of more good days will be back on schedule. Not that I am admitting to any schedule.
[wppa type=”album” album=”2″][/wppa]
Now I mentioned winter is for boat building so here is the progress report on the next Passion.

The building jig for the next Passion with eight of the fourteen legs already set in concrete.